Last updated October 31, 2026
 Wrought iron
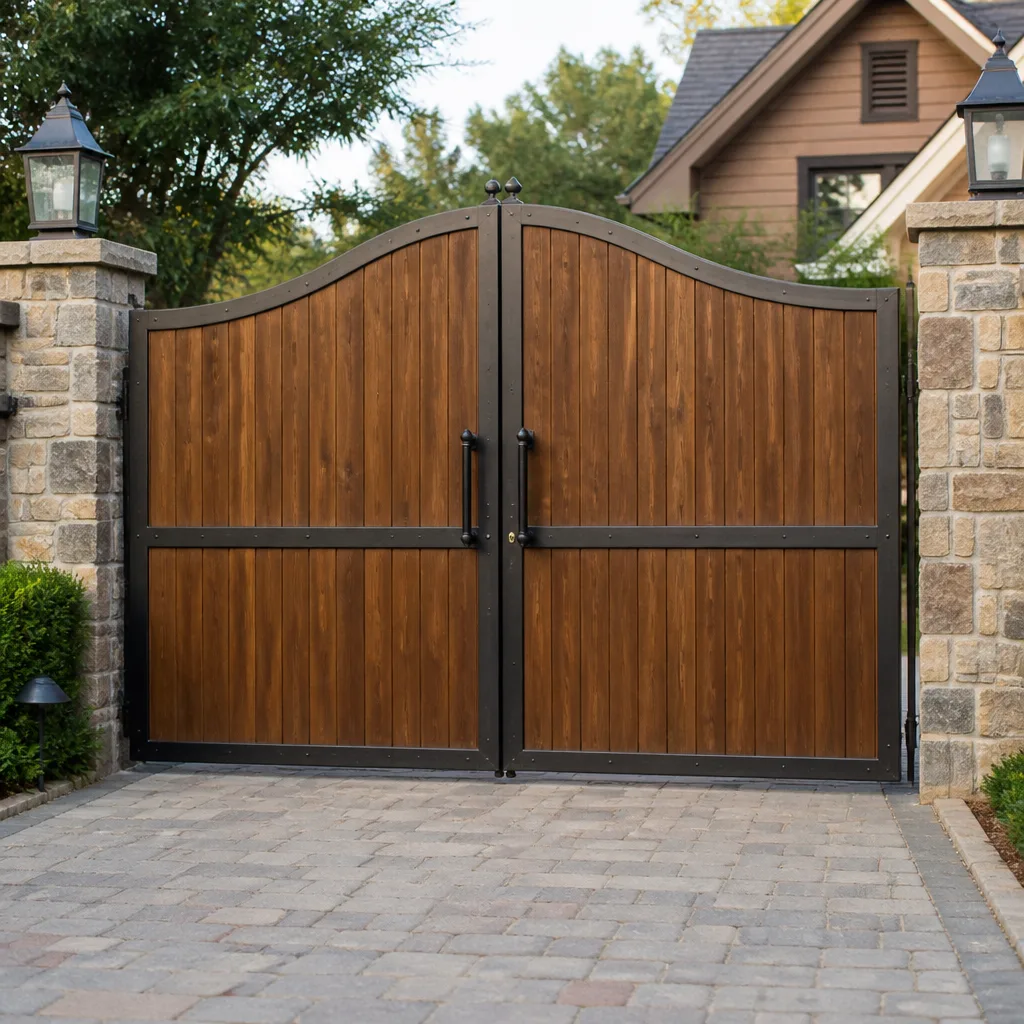 Wood & steel frame
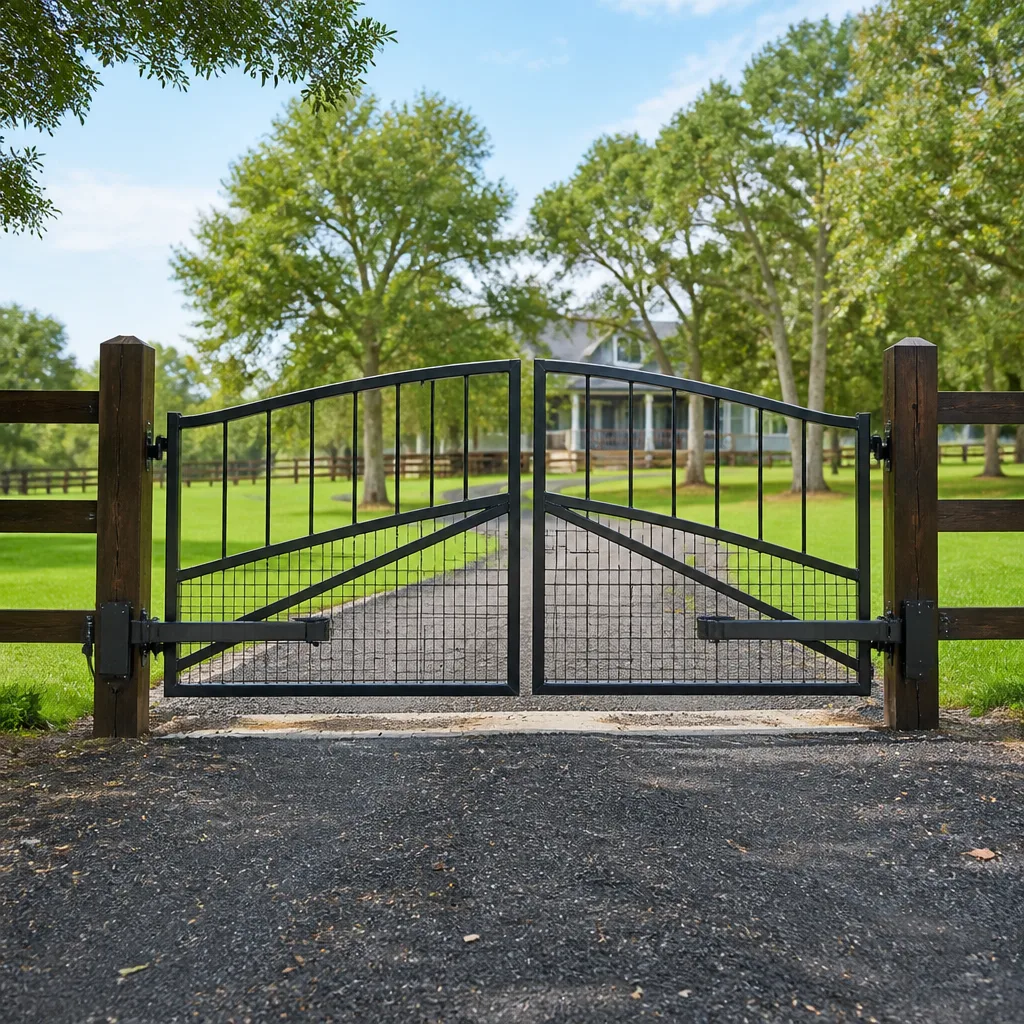 Farm & ranch
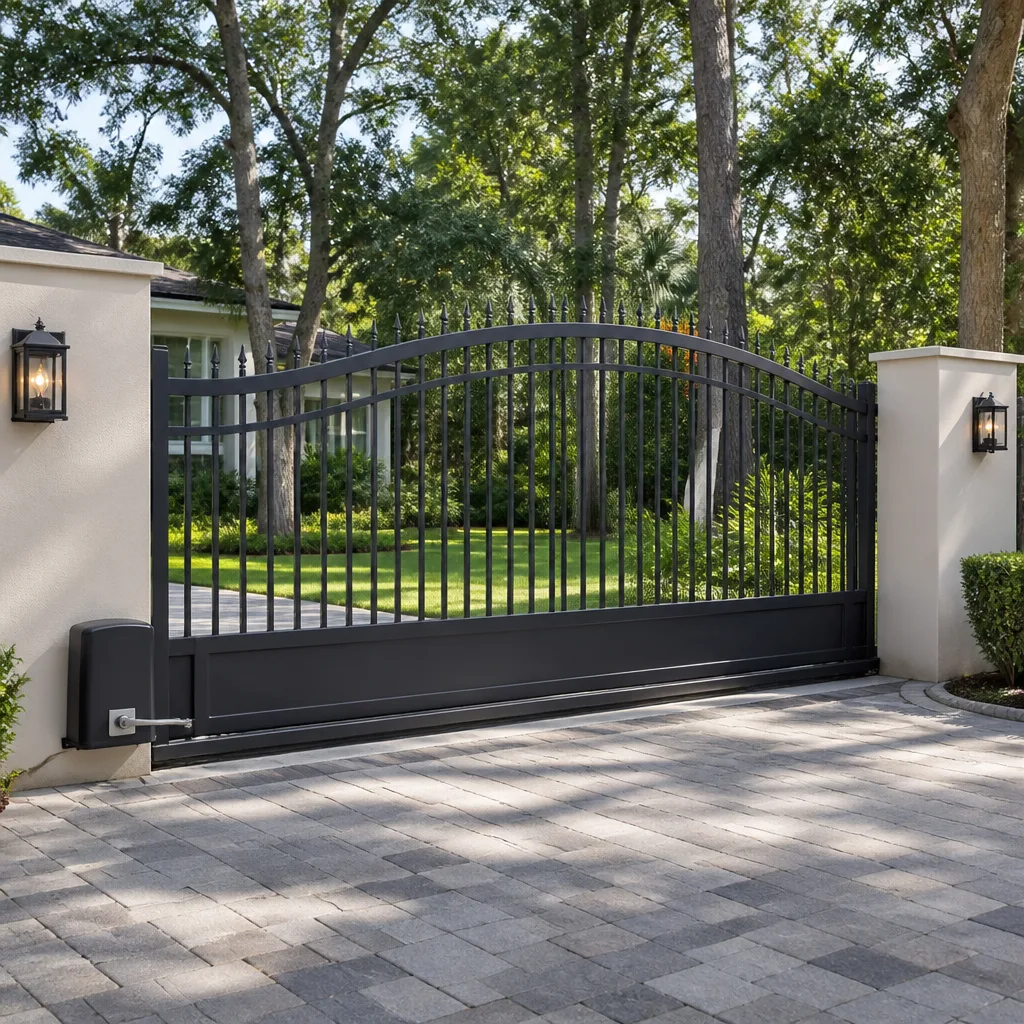 Sliding driveway gates
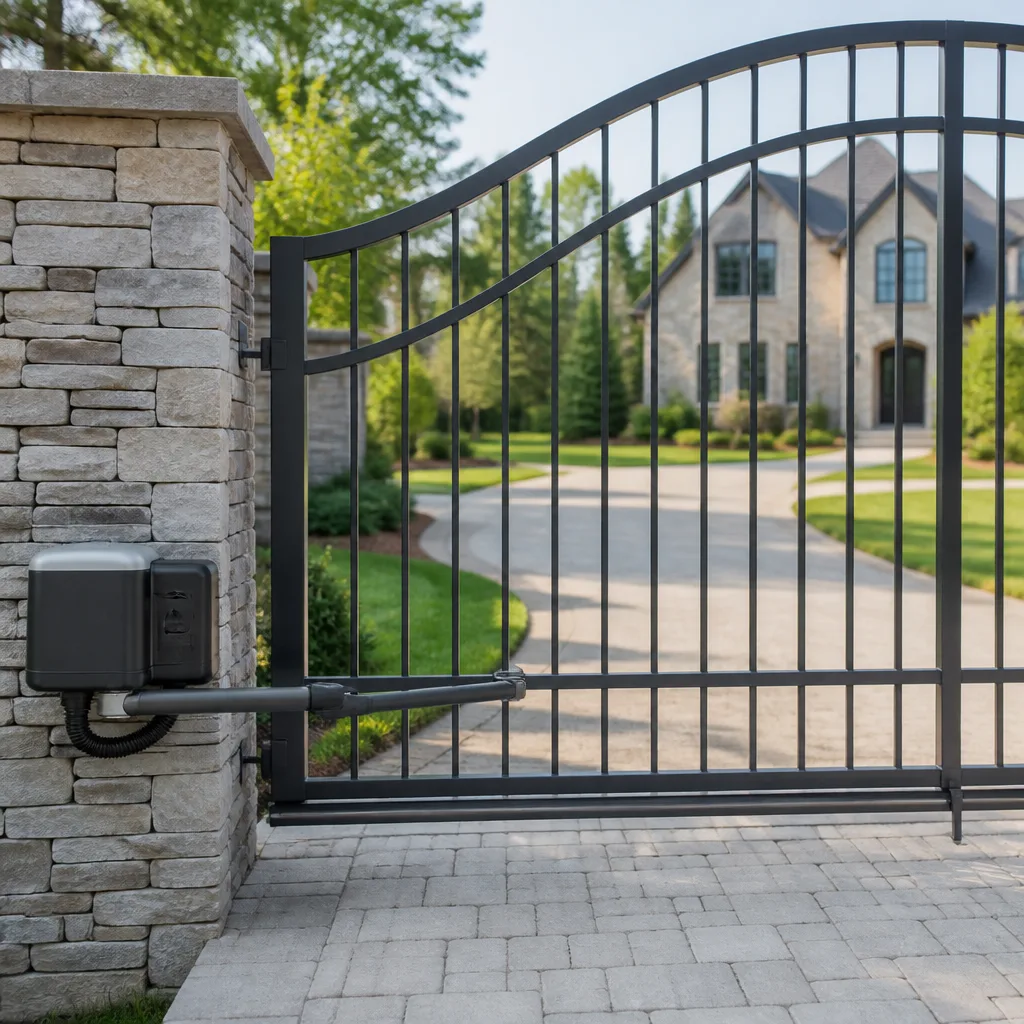 LiftMaster operators
Free on-site gate assessment - hinges, posts, and your LiftMaster or Nice gate operator checked before anything is quoted
The assessment is free and the quote is the invoice.
Get your free estimateGate Repair Maintenance Checklist for Tampa Homeowners
Most gate maintenance guides floating around the internet read like they were written for a subdivision in Arizona. That’s a problem, because what keeps a gate healthy in Phoenix will slowly destroy one in Tampa. The salt air from the bay, the afternoon thunderstorms that drop an inch of rain in forty minutes, the nine months of humidity above seventy percent, the oak pollen in March, the lovebug swarms twice a year – all of it conspires against the hinges, motors, and control boards that a dry-climate checklist barely acknowledges. This guide is different. It’s built around what we actually see failing on Tampa gates, week after week, across residential neighborhoods from Westchase to Brandon and everywhere in between. You’ll learn what to check, when to check it, and which products hold up when the dew point sits at 75 for weeks straight.
Quick Answer
A proper gate maintenance routine in Tampa means monthly cleaning and lubrication of hinges and tracks, quarterly checks of the motor, safety sensors, and battery backup, and an annual deep inspection of the post anchoring, operator internals, and control board connections. The most important variable is product choice: standard spray lubricants fail quickly in Florida humidity, while marine-grade or silicone-based products last months longer. Skip the WD-40, make a calendar reminder, and your gate will outlast neighbors who “don’t do maintenance.”
Styles & brands we work with
Table of Contents
- The Lubrication Rule Every Tampa Homeowner Gets Wrong
- Monthly Maintenance Checklist (10 Minutes)
- Quarterly Maintenance Checklist (30 Minutes)
- Annual Deep Inspection (1 – 2 Hours)
- Hurricane Season Prep for Your Gate
- Sensor and Photocell Cleaning in a Pollen-Heavy Climate
- Post Anchoring and Concrete Footing Checks After Rain Saturation
- Common Mistakes to Avoid
- When to Call a Professional
- Frequently Asked Questions
- The Bottom Line
The Lubrication Rule Every Tampa Homeowner Gets Wrong
Here’s the thing we see constantly: a homeowner with a squeaky gate grabs a can of WD-40 from the garage shelf and hoses down every hinge, wheel, and bolt. Then three weeks later, the gate squeaks louder than before. Why? WD-40 is a solvent and a water displacer, not a lubricant. It strips away whatever grease was there, evaporates quickly, and leaves bare metal exposed to Tampa’s humidity. Within days, surface rust starts forming on the hinge pins. Within months, you’ve got pitted metal and a gate that binds.
What actually works in Tampa’s climate is a heavy-duty, moisture-resistant grease for pivot points and a dry silicone spray for tracks and rollers. Marine-grade lithium grease holds up to rain and salt air far better than general-purpose products. For sliding gate tracks, a silicone-based lubricant repels water and doesn’t attract the sand and grit that a wet grease would. At Kingston Gate Repair, our Gate Repair services cover gates from LiftMaster, FAAC, and BFT regularly, and the units that arrive at our bench with rusted hinge assemblies almost always have the same backstory: WD-40 or nothing at all.
What to Use, and What Not to Use
- Use: Marine-grade lithium grease on hinge pins, pivot points, and swing-arm joints.
- Use: Dry silicone spray on tracks, rollers, and slide channels.
- Use: Dielectric grease on electrical connectors and battery terminals.
- Avoid: WD-40 and similar penetrating sprays as a lubricant substitute.
- Avoid: Thick petroleum grease on tracks, which turns into grinding paste when Tampa’s sandy soil blows in.
- Avoid: Vegetable-based lubricants – raccoons and squirrels in Tampa neighborhoods find them delicious.
Re-lubricating on a schedule matters as much as the product. Tampa’s summer rain pattern means anything you apply in May is partially washed out by August. Put it on the calendar, not in the “I’ll do it when it squeaks” zone, because by the time you hear the squeak, metal is already wearing metal.
Monthly Maintenance Checklist (10 Minutes)
These ten minutes a month prevent about seventy percent of the gate repairs in Tampa that we get called out for. Set a phone reminder for the first Saturday of each month. Here’s the routine:
- Open and close the gate fully three times. Listen for new sounds: grinding, clicking, hesitation. A gate that stops mid-cycle and reverses is telling you something.
- Wipe down the hinge pins and pivot points. Use a rag to remove old grease that’s collected dirt, then apply fresh marine-grade lithium grease.
- Clear the track of debris. If you have a sliding gate, rake or sweep the track clear of leaves, twigs, and sand. Florida oak leaves wedge themselves into track grooves and cause roller skips.
- Inspect the photo eye sensors. Wipe the lenses with a dry microfiber cloth. In Tampa’s pollen season, a week of buildup is enough to make the gate refuse to close.
- Check the keypad and intercom covers. Make sure the rubber gaskets are seated properly. Water intrusion through a cracked cover means a dead control board.
- Look for rust spots. Tampa’s salt air from the bay and the gulf accelerates corrosion. Catch a small spot, sand it, and seal it before it becomes a hole.
If you do nothing else, do this monthly pass. It catches the small issues before they become labor-intensive repairs.
Quarterly Maintenance Checklist (30 Minutes)
Every three months, go deeper. These are the items that need less frequent attention but cause major failures when ignored. The best schedule for Tampa is to run these checks in early March (just before pollen season peaks), early June (start of hurricane season), early September (peak heat and humidity), and early December (after fall leaf drop).
- Open the operator cover. Unplug the unit first. Look for ant nests, gecko droppings, and moisture stains. Florida’s insect population treats gate operator housings like rent-free condos.
- Inspect the control board for corrosion. Green or white residue on terminals means moisture is getting in. Clean terminals gently and re-apply dielectric grease.
- Test the auto-reverse function. Place a cardboard box in the gate’s path and close the gate. If it doesn’t reverse on contact, the safety system has failed and needs adjustment by a professional.
- Check the battery backup. If your gate has one, disconnect the main power and operate the gate on battery alone. It should cycle at least three times. Weak batteries fail exactly when you need them most: during a Tampa power outage.
- Inspect all mounting bolts and brackets. Use a socket wrench to confirm they’re snug. Tampa’s clay soils expand and contract with seasonal saturation, which walks bolts loose slowly.
- Lubricate the gate wheels and rollers. Wipe clean first, then apply dry silicone spray. Do this even if the gate feels fine; the goal is to stay ahead of wear.
Why Quarterly Beats “When It Breaks”
The cost difference is stark. A $12 tube of grease and a half-hour of attention every three months prevents a $400 control board replacement when corrosion finally bridges a circuit. It’s not that gates are fragile; it’s that Tampa’s environment is aggressive. Humidity, rain, salt, and heat are all working against the metal and electronics continuously. Quarterly maintenance is the counterweight.
Annual Deep Inspection (1 – 2 Hours)
Once a year, schedule a thorough inspection. If you’re handy and methodical, you can do much of this yourself, or check our Gate Repair Troubleshooting: Common Problems and How to Fix Them for guidance. If you’d rather not spend two hours with a multimeter and a socket set, this is the service most homeowners hire us to perform. Either way, these are the things to check:
Operator and Motor
- Listen for bearing wear. A motor that whines or rumbles during operation may have failing bearings. Replacement before catastrophic failure saves the gearbox and the control board.
- Inspect the chain or belt drive. On Linear and Viking operators we service regularly, chain slack beyond the manufacturer spec causes premature sprocket wear.
- Check the capacitor. A bulging or leaking capacitor is a ticking clock. If you see swelling, replace it or call us to do it.
- Review the wiring connections. Disconnect power first. Tug each wire gently at its terminal. Loose connections cause intermittent failures that drive homeowners crazy.
Gate Structure
- Check the gate frame for sag. Stand back and sight down the top rail. A gate that’s sagging puts stress on hinges and makes the operator work harder.
- Inspect welds for cracks. Look especially at hinge attachment points and the operator arm connection. A crack here is a failure waiting to happen.
- Examine the gate wheels. For sliding gates, look for flat spots, wobbling bearings, and excessive wear. Tampa’s sandy soil accelerates wheel wear in a way concrete-driveway homes never experience.
- Test the gate’s balance. A properly balanced gate opens and closes with minimal motor effort. If you can hear the motor straining, the balance may be off.
Safety Systems
- Test the photo eyes under sunny conditions. Tampa’s afternoon sun angle can wash out older sensors. If the gate behaves differently at 4 PM than it does at 8 AM, the sensors may need adjustment or replacement.
- Check the safety loops. If your gate has vehicle detection loops cut into the driveway, test them by driving a car slowly over the loop. The gate should not close while the car is on the loop.
- Verify the manual release works. On a day you can afford to spend ten extra minutes, test the manual release mechanism. You want to know it works before you need it in a hurricane.
For electric gate repair in Tampa, catching these issues during an annual inspection is dramatically cheaper than dealing with them after a component fails. A $40 bearing replaced is a $700 motor saved.
Hurricane Season Prep for Your Gate
Tampa hasn’t taken a direct hit from a major storm in a long time, which means complacency is the real enemy. Every year from June 1 to November 30, the smart move is to treat your gate as part of your storm prep. Here’s the protocol we recommend:
- June 1: Test the battery backup system. If the unit’s battery is more than three years old, replace it. After a storm, a functioning gate that you can open and close without grid power is a meaningful security asset.
- May 31: Inspect the gate’s anchoring. Check the post bases, the track mounting, and the operator bracket for any loosening. A gate that rattles in the wind is a gate that may fail during 70 mph gusts.
- Early June: Photograph everything. Take clear photos of the gate, operator, control board, and wiring. If a storm damages the system, insurance documentation is much easier with “before” photos.
- Before a named storm approaches: Consider opening the gate manually and securing it in the open position, depending on your property’s flooding and access concerns. Know where your manual release key is.
- After any storm: Inspect for water intrusion in the operator housing before restoring power. If the control board got wet, do not power it up. Call a professional to dry and inspect it.
We’ve had homeowners tell us after storms that their gate “just quit.” In nearly every case, the failure was traceable to water intrusion that could have been prevented with fresh gaskets and a tested battery backup. Planning ahead costs less than emergency replacement.
Sensor and Photocell Cleaning in a Pollen-Heavy Climate
Tampa’s oak pollen season, which runs from late February through early April, is brutal on gate safety sensors. A layer of yellow dust no thicker than a business card is enough to scatter the infrared beam and make the gate reverse or refuse to close. Afternoon thunderstorms then add another layer of grime, mixing pollen with rain splatter into a crust that’s harder to remove than either alone.
Here’s the cleaning protocol that works in our climate:
- Clean the sensor lenses monthly during pollen season. A dry microfiber cloth removes most buildup without scratching. If the crust is stubborn, dampen the cloth slightly with water. No glass cleaner – the ammonia can haze plastic lenses over time.
- Wipe down the sensor housings as well as the lenses. Dust on the housing can scatter the beam even when the lens itself is clean.
- Check the sensor alignment. After cleaning, manually break the beam with your hand. The gate should stop or reverse. If it doesn’t respond, the sensors may be out of alignment.
- Inspect the sensor wiring for sun damage. Tampa’s UV exposure breaks down wire insulation faster than most climates. Bare wire near a sensor is a short circuit waiting for rain.
- Trim vegetation back from the sensor path. A branch that sways across the beam on a windy afternoon triggers nuisance reversals. During the growing season, check every two weeks.
For gates with vehicle detection loops instead of photo eyes, the maintenance differs: keep the driveway surface clean of ferrous debris and avoid parking a vehicle with a large metal trailer on the loop for extended periods, which can confuse the detector.
Post Anchoring and Concrete Footing Checks After Rain Saturation
Here’s a failure mode that’s especially common in Tampa: a gate post sits in a concrete footing that looked solid when it was poured. Then years of wet-season saturation and dry-season shrinkage quietly loosen the bond between the post and the concrete. The post doesn’t fall; it just starts to move a quarter-inch when the gate cycles. That small movement transfers stress to the hinges, the operator arm, and the control board every single day. Left long enough, the result is a snapped hinge pin or a stripped gearbox.
Checking your posts after heavy rain is straightforward:
- Push hard against the post. Use your body weight. A properly anchored post doesn’t move at all.
- Sight down the post from the side. Any visible lean, even slight, is worth investigating.
- Look for cracks around the base of the concrete. Hairline cracks that appear after a heavy rain cycle are early signs of water intrusion breaking down the concrete matrix.
- Check the soil around the footing for signs of washout. After a particularly heavy storm, look for channels where water ran through the soil near the post base.
- Test with a level. Place a four-foot level against the post against the post in two perpendicular directions. If the bubble drifts from center, the post has shifted.
If you find movement, don’t just torque the bolts. The fix usually involves re-setting the post in new concrete, possibly with a larger footing. That’s a job for a specialist with the right equipment and an understanding of Tampa’s soil conditions. It’s also a job best done before the gate’s daily cycles turn a quarter-inch wobble into a snapped hinge.
Gate Operator Brands We Service in Tampa
One of the advantages of working with a dedicated gate company is that we see every major brand on a regular basis. When a FAAC hydraulic operator shows up with a specific failure pattern, we’ve usually diagnosed ten of them that month. Same with BFT control boards, Linear slide operators, and Viking swing arms. Homeowners with these systems get a technician who already knows the equipment’s quirks, not someone reading the installation manual for the first time on the driveway.
If you’re not sure what brand of operator you have, look at the motor housing or the control board cover for a nameplate. Knowing the brand and model before you call any gate company saves time on the phone and gets the right parts loaded on the truck.
Common Mistakes to Avoid
- Using WD-40 as a hinge lubricant. It strips existing grease, evaporates, and leaves bare metal vulnerable to Tampa’s humidity. Use marine-grade lithium grease instead.
- Lubricating a sliding gate track with heavy grease. It attracts sand and leaf debris, creating a grinding paste that accelerates wheel wear. Silicone spray is the right call.
- Ignoring a gate that’s getting slower. A gate that slows down is a motor or battery issue, not “normal aging.” The longer it runs slow, the more damage accumulates.
- Power-washing the operator housing. A pressure washer forces water past the gaskets and into the control board. Clean the exterior with a damp cloth, never a sprayer.
- Skipping the battery backup test. Batteries die quietly. The first time many homeowners learn they have a dead backup is during a power outage when the gate won’t open at all.
- Letting vegetation grow into the gate’s path. In Tampa’s growing season, a hedge or vine can encroach on the gate’s swing radius in a month. That interference trips the safety reversal and eventually damages the operator.
- Painting over rust without sealing the metal first. A coat of paint over active rust just hides the problem. The rust continues underneath, and by the time it reappears, the structural damage is worse.
When to Call a Professional
Some gate issues are genuinely safe to handle yourself: cleaning sensors, clearing track debris, tightening visible bolts, and lubricating hinges are all homeowner-appropriate tasks. But when a gate stops mid-cycle, when the operator makes a grinding sound, when a post has shifted, or when the control board shows signs of moisture intrusion, that’s where a professional’s value becomes obvious. Gate components operate under spring tension, weigh hundreds of pounds, and can cause serious injury when they fail unexpectedly. The gate itself is under load even when stationary; a hinge failure during a manual adjustment can drop a swing gate faster than you can react.
Kingston Gate Repair offers free estimates in Tampa, and our technicians work on LiftMaster, FAAC, BFT, Linear, Viking, Ghost Controls, DoorKing, Elite, and Mighty Mule systems. Call (877) 752-3303 if you’re not sure what you’re looking at. A phone consultation costs nothing.
Frequently Asked Questions
In Tampa’s climate, lubricate hinge pins and pivot points every month using marine-grade lithium grease, and apply dry silicone spray to tracks and rollers every three months. The humidity and rainfall wash lubricants out faster here than in dry climates, so a monthly routine during the wet season (June through September) is the minimum for most gates.
Marine-grade lithium grease is the best choice for hinge pins and pivot points in Tampa because it’s formulated to resist salt air and rain washout. For sliding gate tracks and rollers, use dry silicone spray, which repels water and doesn’t attract dirt. Avoid WD-40 and other penetrating sprays as lubricants; they strip grease and accelerate corrosion in humid air.
Gate repair costs in Tampa vary widely by the type of failure. Minor repairs like sensor realignment or hinge replacement might run $150 to $350, while control board replacement or gearbox rebuilds can range from $500 to $1,500 or more. The exact price depends on your operator’s brand and model, the part that failed, and labor time. Call (877) 752-3303 for a free estimate with numbers specific to your system.
Many common failures, including sensor problems, hinge replacements, and control board swaps, can be diagnosed and repaired on the first visit, depending on parts availability for your specific operator brand. Call (877) 752-3303 and describe what your gate is doing; in most cases we can tell you over the phone whether it’s likely to be a same-day fix.
During a hurricane warning, secure your gate in the open position using the manual release if your property setup allows for it, and make sure you know where the release key is. Unplug the operator if flooding is a possibility. The goal is to prevent the gate from being damaged by wind gusts and to ensure you can get vehicles in and out after the storm passes.
Gate maintenance is not optional in Tampa if you care about the lifespan of the equipment. Florida’s heat, humidity, salt air, and rain accelerate every failure mode that gates are prone to. Gates that receive regular monthly and quarterly maintenance last years longer and require significantly fewer repair calls than gates that are ignored until they fail.
The Bottom Line
Tampa’s climate punishes gate hardware harder than almost anywhere in the continental U.S. The humidity eats at exposed metal, the rain washes out cheap lubricants, the pollen fouls sensors, and the hurricane season demands a level of preparedness that’s easy to ignore during the dry months. For more guides & resources, explore our blog. This checklist gives you the tools to stay ahead of those forces: monthly hinge and sensor care, quarterly operator and battery checks, annual structural inspection, and a hurricane season routine that treats the gate as part of your home’s storm defense. If at any point something on this list turns up a problem you don’t feel confident fixing, call (877) 752-3303 for a free estimate. Kingston Gate Repair works on every major gate brand, including LiftMaster, FAAC, BFT, Linear, and Viking, and we’d rather catch a problem early than fix a catastrophe later.
Written by the team at Kingston Gate Repair, serving Tampa since 2013.
See the difference
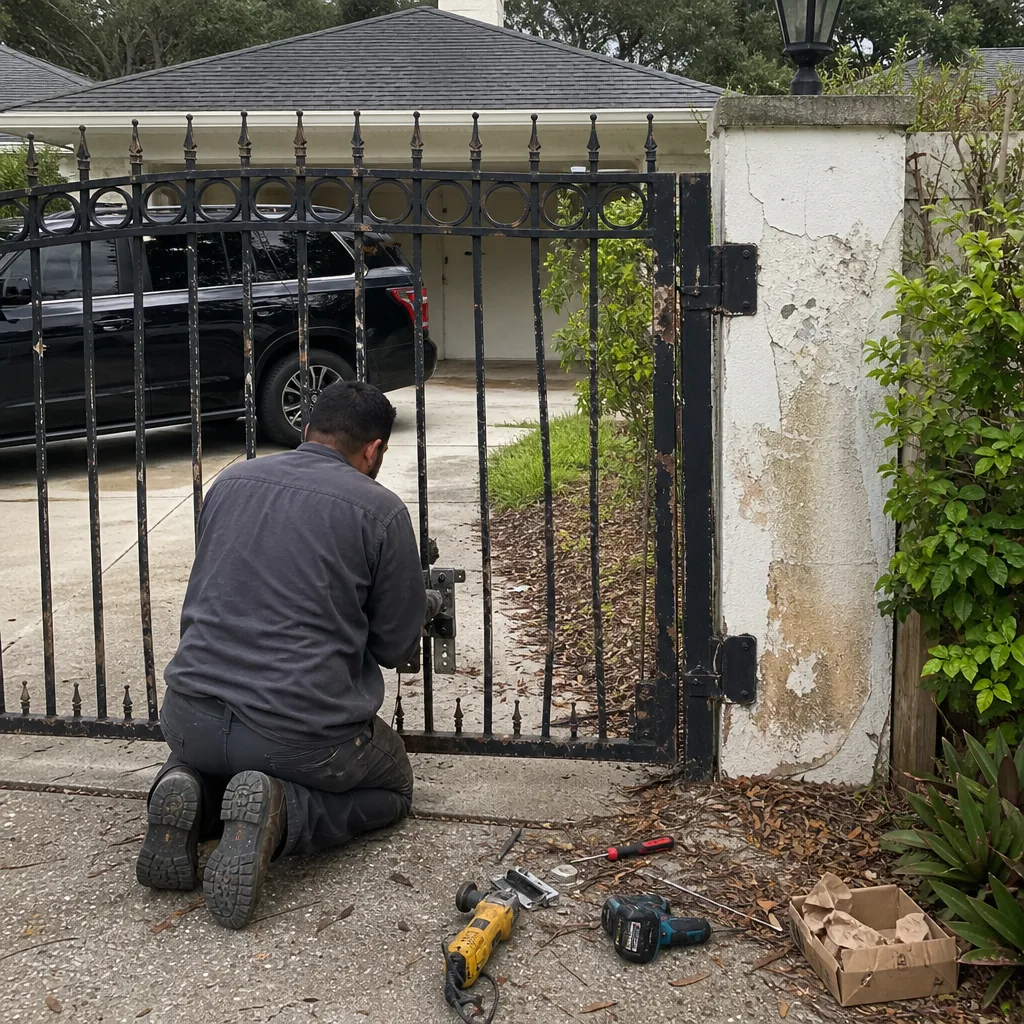 Before
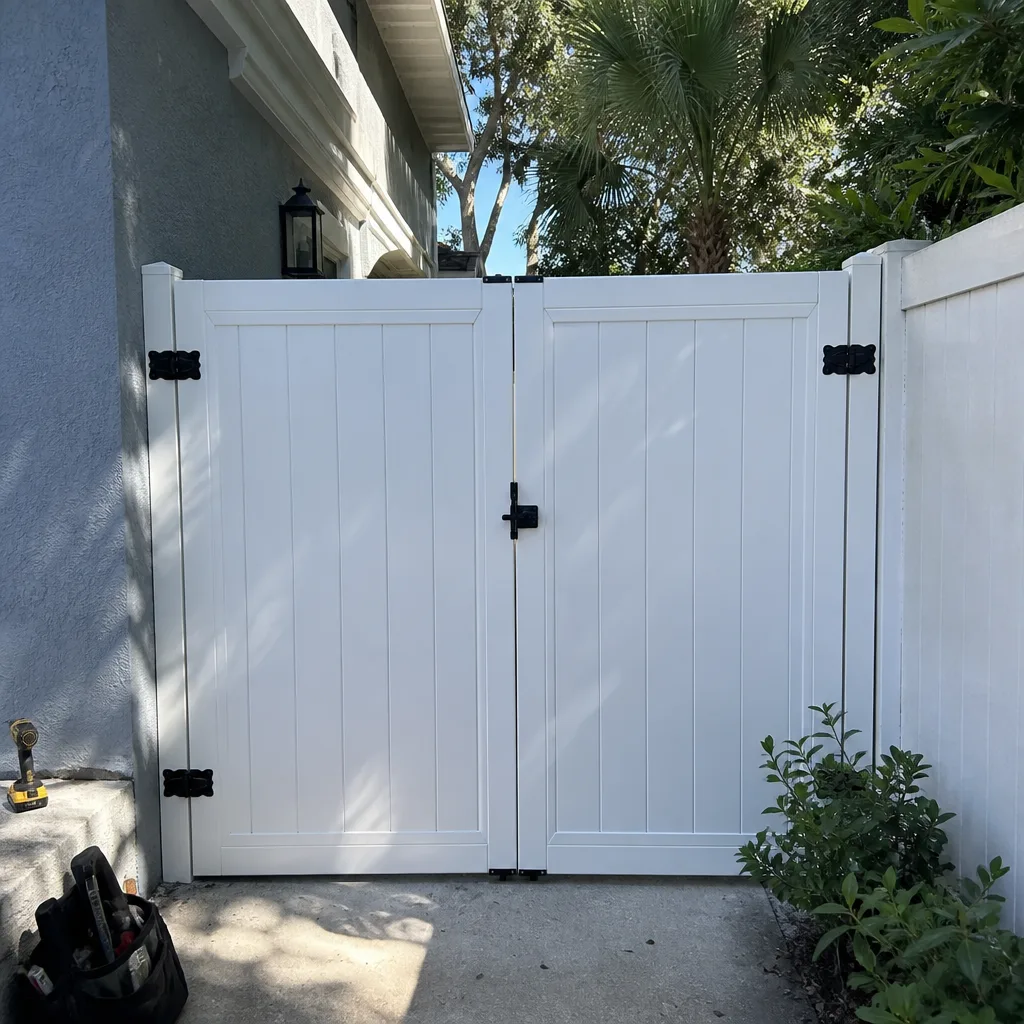 After
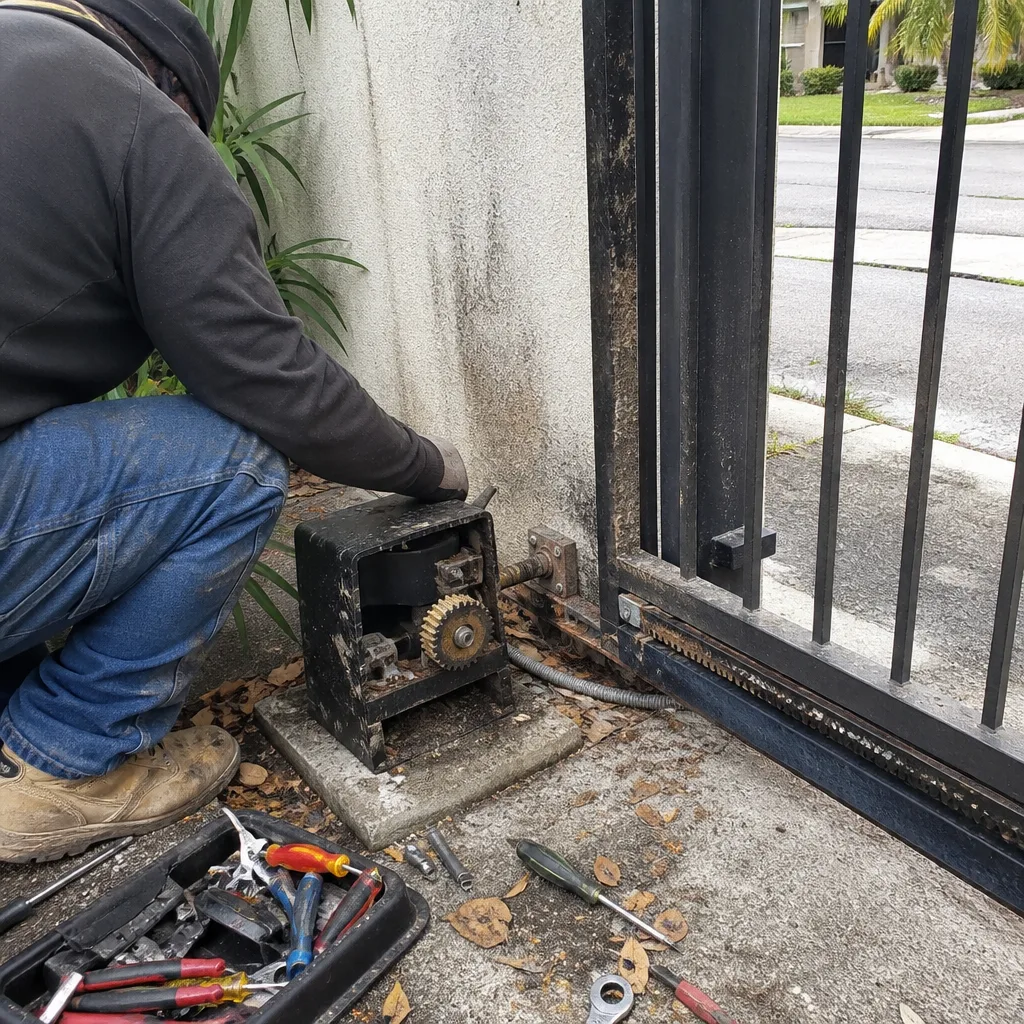 Before
 After
 Before
 After